This post may contain affiliate links. Please see our disclosure policy for more details.
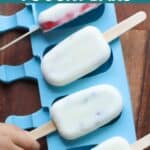
These frozen yogurt bars are creamy, refreshing, and made with simple ingredients like yogurt, fruit, and a few fun toppings. They take just minutes to prep, and once frozen, you have a grab-and-go snack that’s perfect for babies, toddlers, and busy days.

Why You’ll Love These Frozen Yogurt Bars
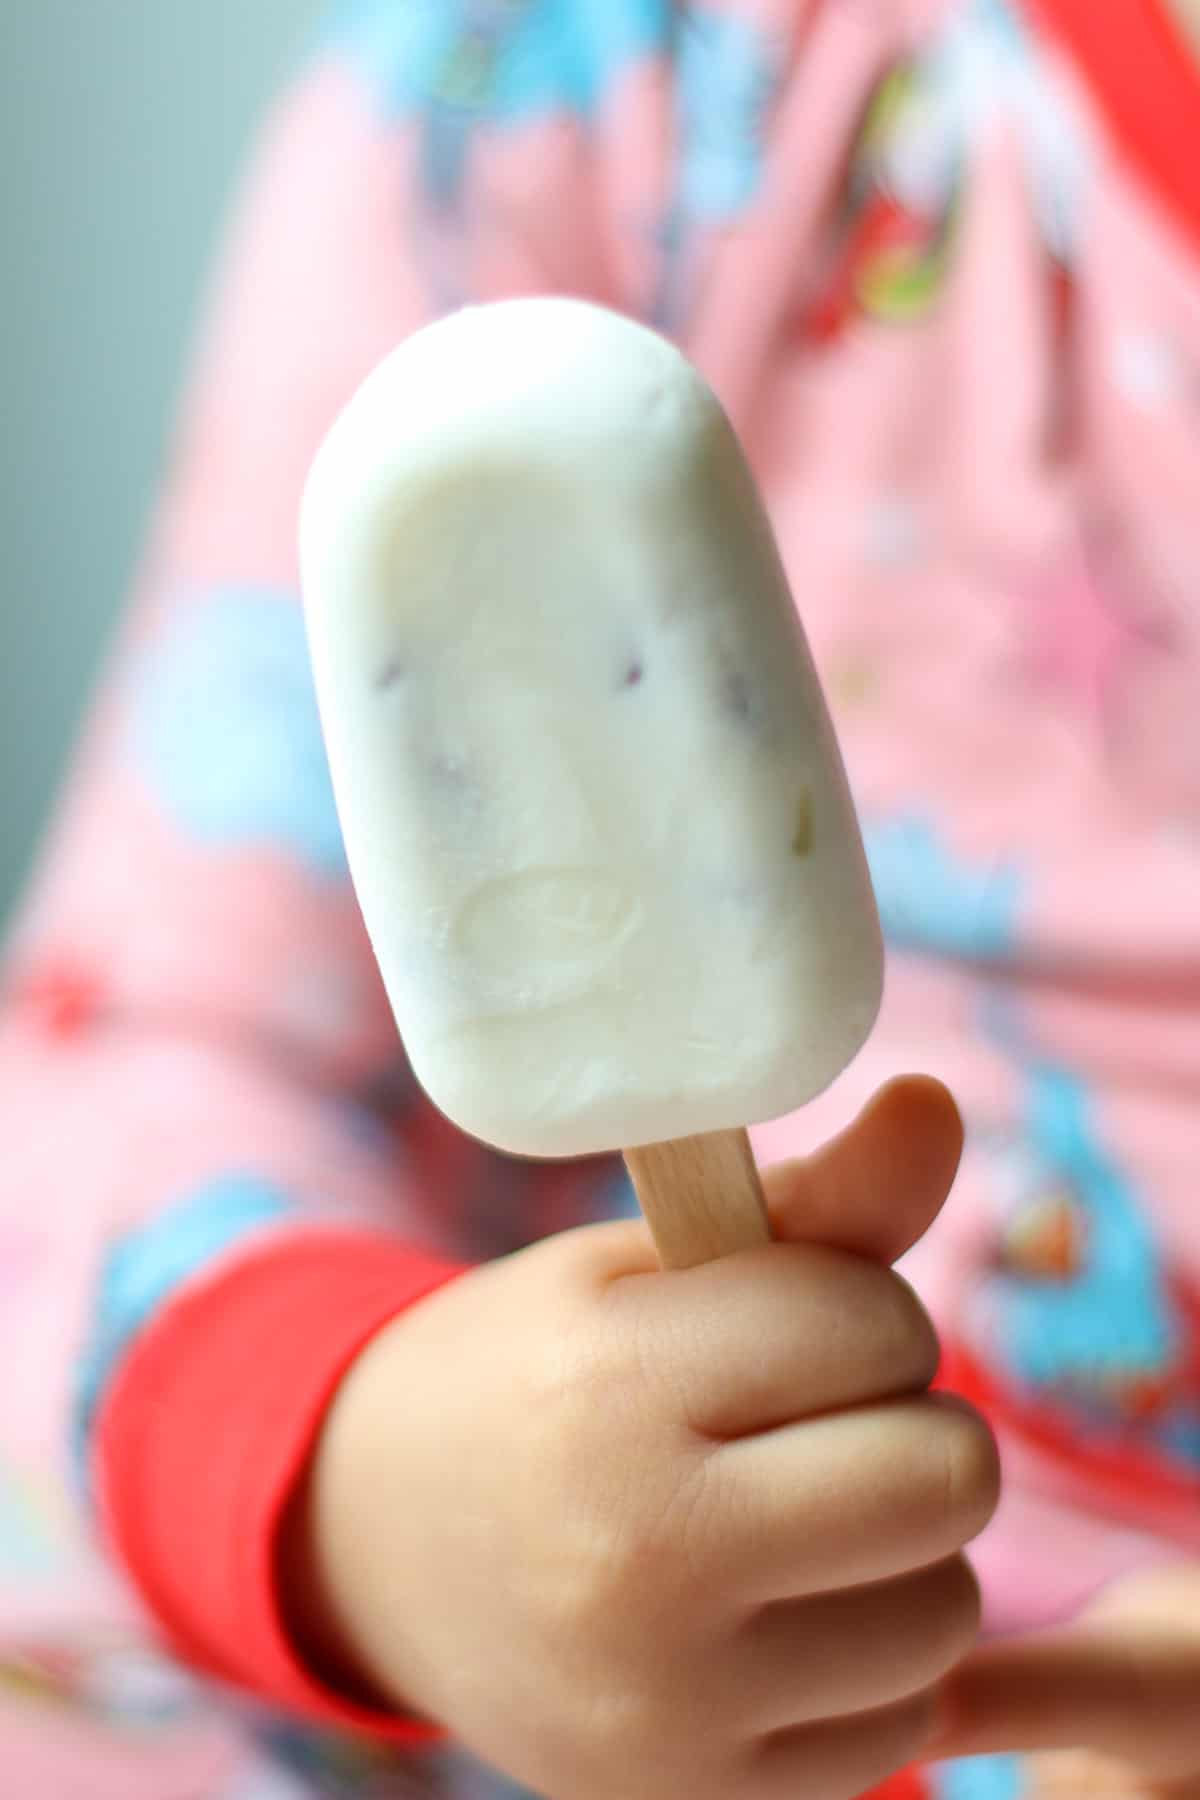
- Perfect for babies, toddlers, and kids – These bars are soft enough to bite once slightly thawed and can be cut into small, manageable pieces for little hands.
- Naturally sweetened with simple ingredients
- Easy make-ahead option for busy days – Prep a batch in minutes and keep them in the freezer for quick snacks, lunchboxes, or after-school bites. Check out more healthy toddler snacks.
- Customizable with endless flavor combinations – Switch up the fruit, swirl in nut butter, or add toppings to keep things fun and prevent snack boredom.
- A nourishing option you can feel good about – Packed with protein, probiotics, and beneficial fats, these bars support growing bodies.
I am forever grateful for yogurt! It’s such a delicious, healthy, and versatile ingredient that I love adding to everything from pancakes for babies and toddlers and yogurt muffins to custard yogurt toast, protein pizza, and Greek yogurt smoothies.
And now, it’s the star of another favorite snack…frozen yogurt bars!
And if you don’t want to bother with using a popsicle mold, give these strawberry yogurt clusters or frozen peanut butter banana bites a try!
Key Ingredients
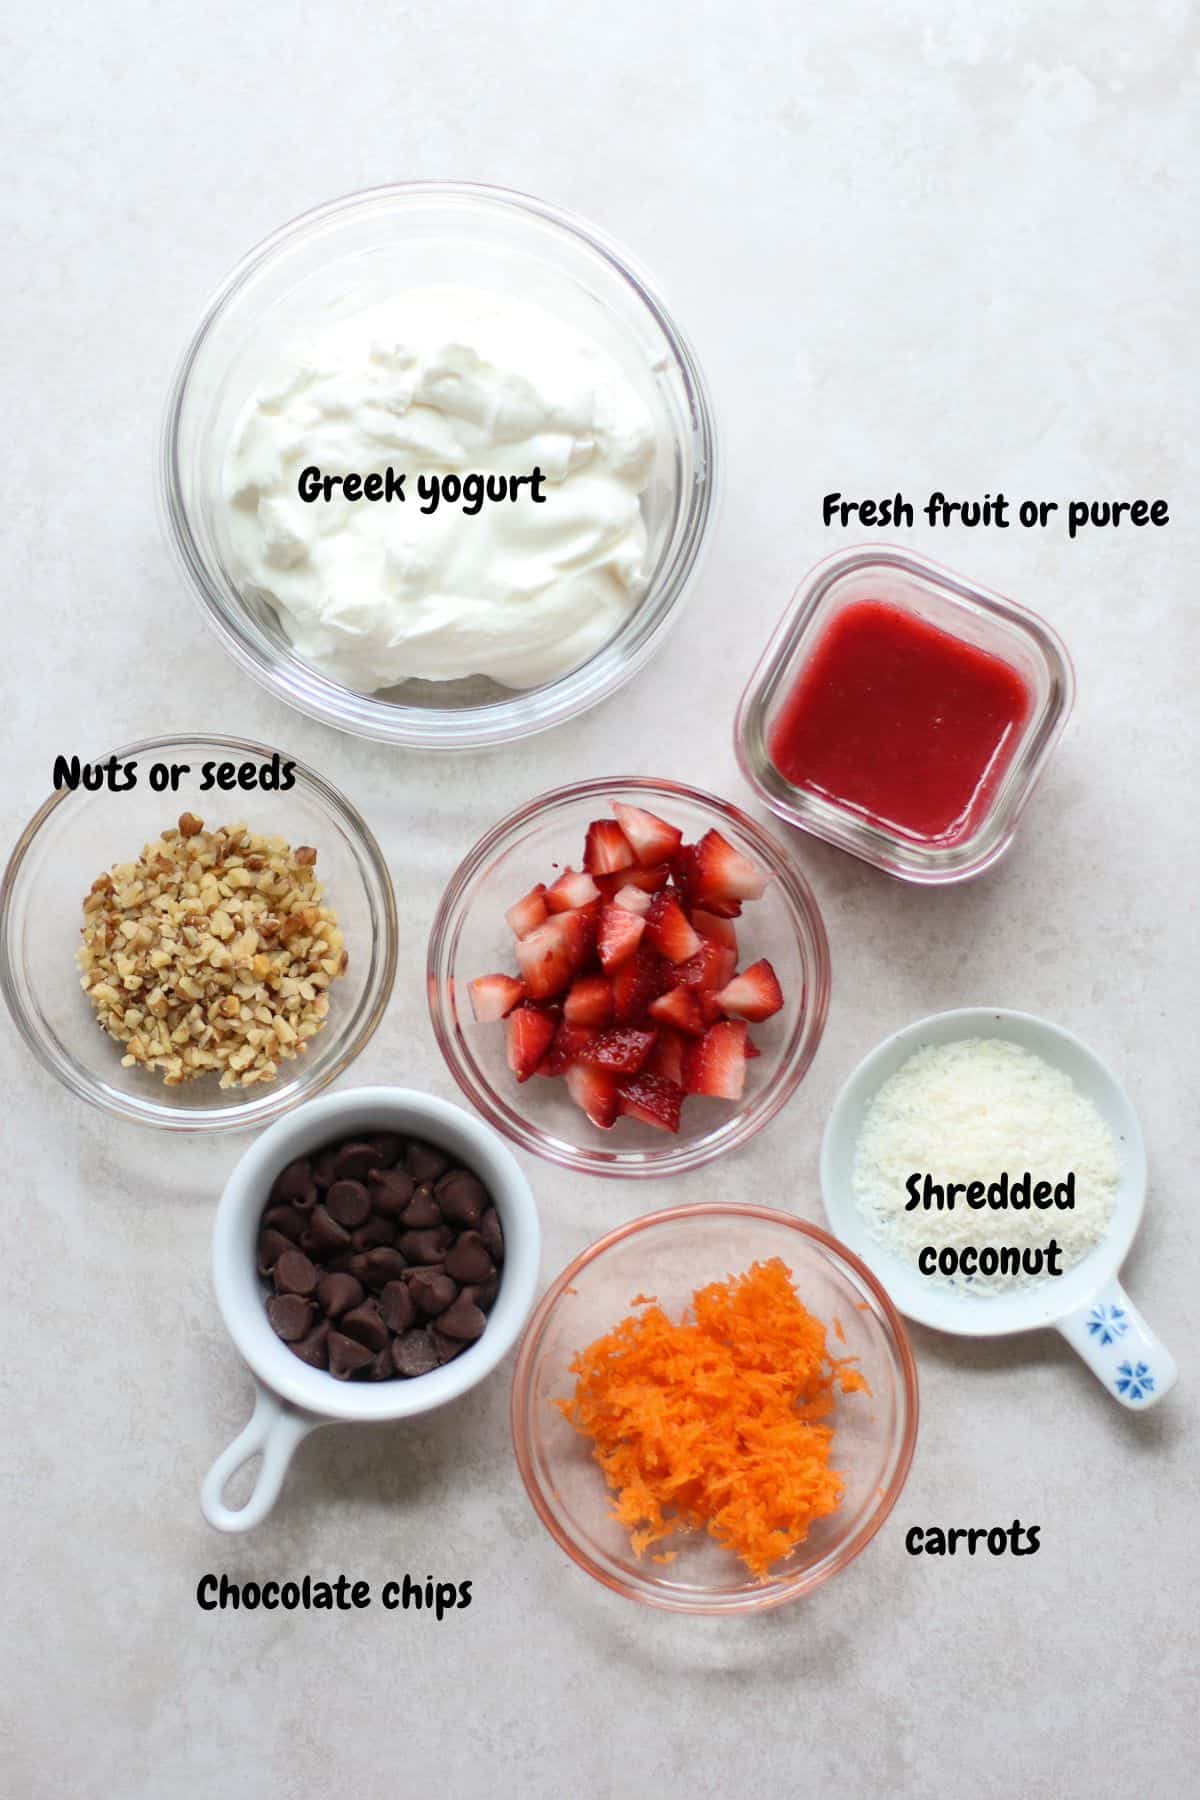
- Yogurt – For the creamiest texture, I highly recommend using full-fat plain Greek yogurt. It’s thicker, creamier, and less icy than regular yogurt. You can also use a dairy-free Greek-style option, like coconut or almond, but keep in mind the texture may vary.
- Maple syrup or honey (optional) – If you desire sweeter bars, you can stir into yogurt to taste.
- Fillings of choice – See some of my favorite combos below!
How to Make Frozen Yogurt Bars

Step 1: Add a layer of yogurt at the bottom of the popsicle mold. Add popsicle sticks.

Step 2: Spread fillings of choice on top.

Step 3: Add a second layer of yogurt to fill up the mold completely.
Step 4: Place the mold on a large plate or baking pan and freeze for at least 3 hours.
Variations
One of the best things about frozen yogurt bars is how easy they are to customize. These simple filling ideas add flavor, texture, and extra nutrition to every bite.
Here are some of our favorite flavor combinations:
- Strawberry Almond – Strawberry puree + finely chopped almonds
- Citrus Berry – Blueberries or strawberries + lemon zest
- Carrot Cake – Finely grated carrots + shredded coconut + walnuts
- Peanut Butter Chocolate – Peanut butter + chocolate chips
- Coconut Lime – Shredded coconut + lime zest + a drizzle of honey
- Raspberry Vanilla – Fresh raspberries + vanilla extract + white chocolate chips
- Fig & Honey – Chopped dried figs + a swirl of honey
Expert Tips
- Use full-fat yogurt for the creamiest texture – Full-fat Greek yogurt freezes thicker and less icy than low-fat or regular yogurt.
- Flavor your yogurt at home – You can use plain or flavored yogurt, but store-bought versions often contain added sugars. I highly recommend making your own at home. The good news is it’s SO easy to do – here’s how to make vanilla yogurt, strawberry yogurt, blueberry yogurt, and mango yogurt.
- Choose the right mold or pan – This popsicle mold is perfect for these yogurt bars! It’s the ideal size for little hands, easy to use, and easy to clean. However, feel free to use any of your favorite popsicle molds (make sure it’s a flat style).
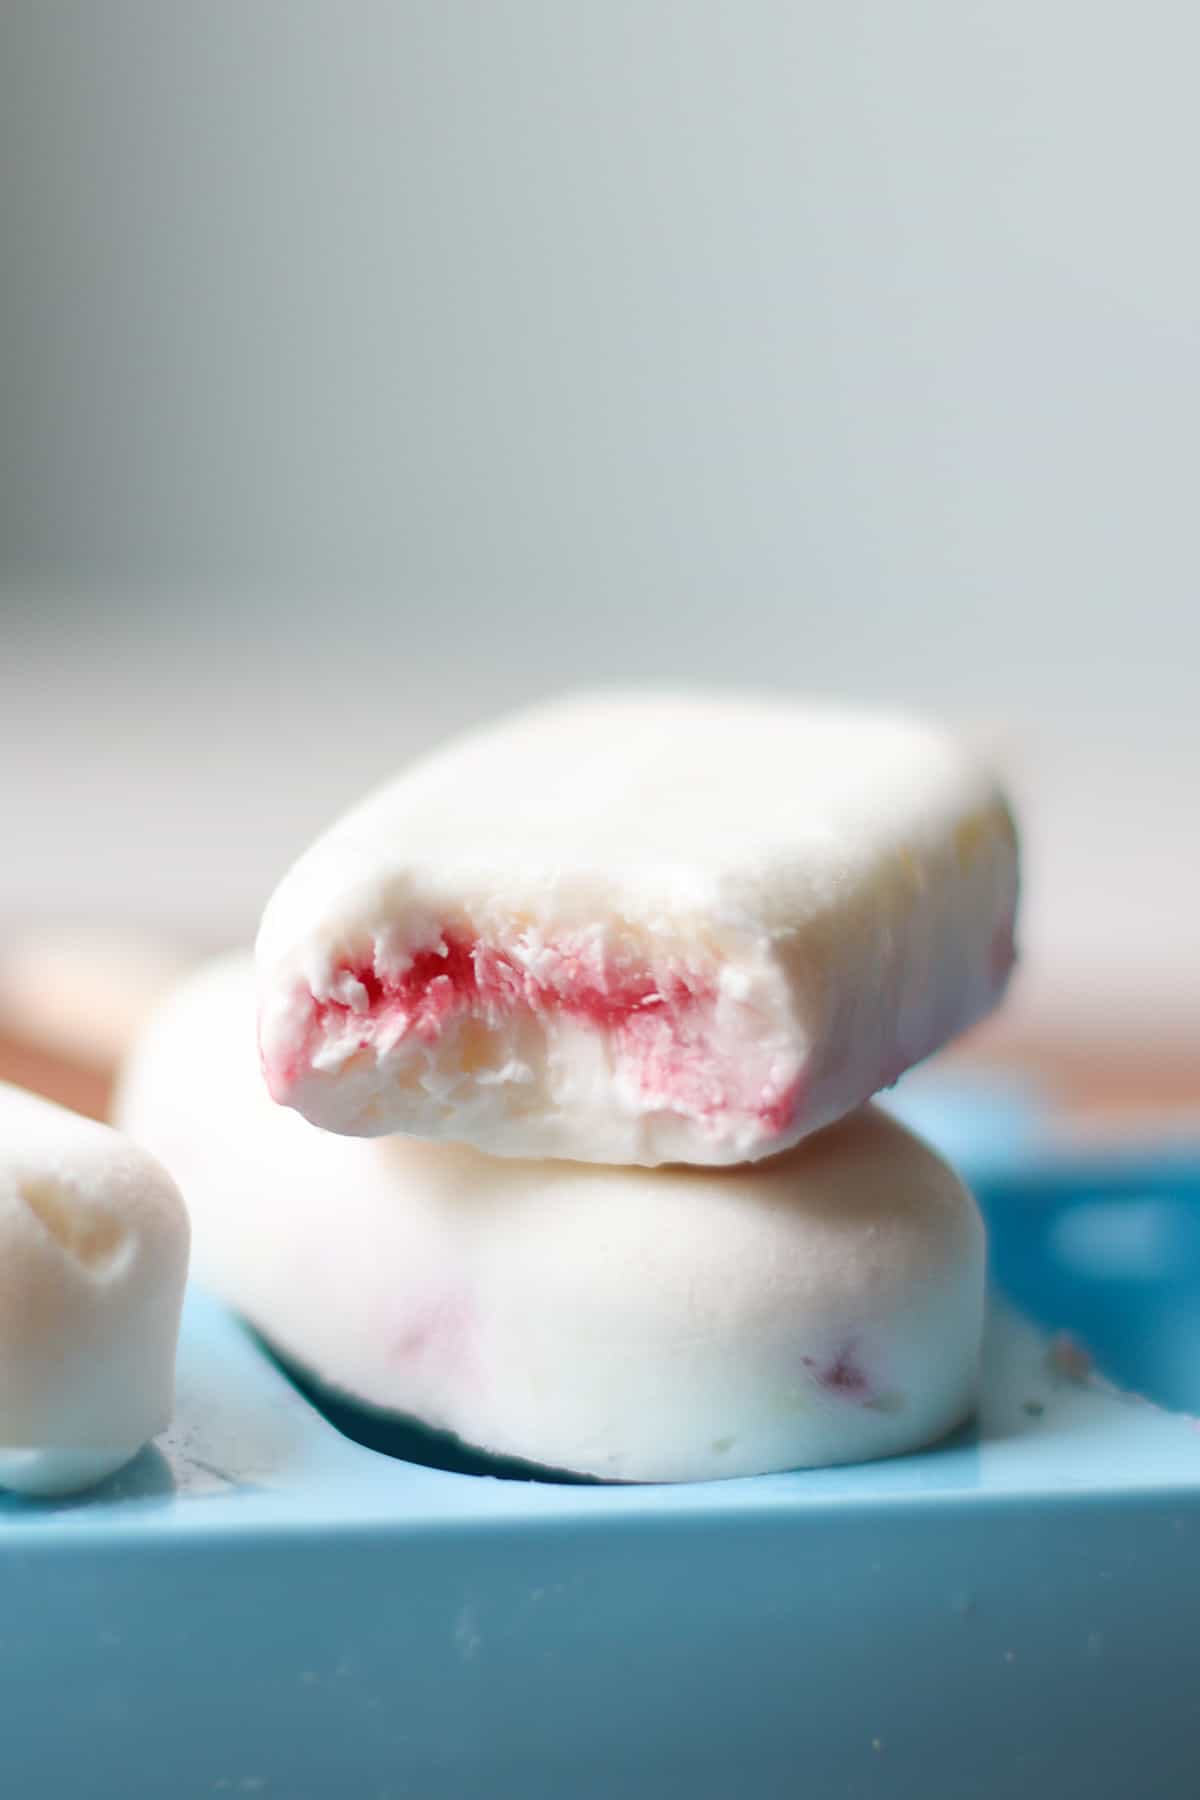
- Line your pan for easy removal – Pour into a small loaf pan lined with parchment paper. You can also use a silicone muffin pan. Once frozen solid, cut into squares.
- Don’t overfill with mix-ins – Too many add-ins can make the bars harder to slice and hold together.
- Let sit before serving – Allow the bars to rest at room temperature for a few minutes so they soften slightly. This makes them easier to bite, especially for younger kids.
- Cut to match age and ability – Slice into small squares or thin strips for toddlers and younger children.
Serving Suggestions
Take the bars out of the freezer several minutes before serving. This will make the bars softer and easier for toddlers to eat. But don’t leave them out for too long as they will melt.
These are seriously the perfect snack or dessert any time of the day. You can also serve this for breakfast! Here are some of my favorite healthy toddler breakfast ideas if you need more inspiration.
Frozen Yogurt Bars FAQs
Once frozen solid, transfer to an airtight container or freezer bag. Freeze for up to 2 months.
And here’s how to freeze yogurt if you have any leftover.
Let sit at room temperature for 3–5 minutes to soften slightly. This makes them easier to bite, especially for younger children.
Yes, but the bars may be slightly icier and less firm. Greek yogurt yields a creamier texture.
They can be a very nutritious snack depending on ingredients used. Yogurt provides protein and calcium, while fruit adds fiber and natural sweetness.
More Frozen Treats


Did you make this recipe? Leave a rating below and let me know how you liked the recipe! Your feedback means so much to me!

Frozen yogurt bars
Equipment
Ingredients
- 1 cup Greek yogurt
- 1/2 cup toppings of choice (see notes)
Optional
- 1 tablespoon maple syrup or honey (can add more or less to taste)
Instructions
- Add a layer of yogurt at the bottom of the popsicle mold. Add the popsicle sticks.
- Spread fillings of choice on top.
- Add a second layer of yogurt to fill up the mold completely.
- Place the mold on a large plate or baking pan and freeze for at least 3 hours.
Notes
- Strawberry puree + finely chopped almonds
- Blueberries + lemon zest
- Finely grated carrots + shredded coconut + walnuts
- Peanut butter + chocolate chips


Love your recipe on the yogurt popsicles. And a new diabetic unfortunately. If you have any healthy snacks desserts for diabetics I would love to try some of them. Thank you so much.